Physical Computing

Physical Computing / Week Fourteen / ITP Winter Show by Pippa Kelmenson

8W0B9988.jpg

Elastic Heart by Pippa Kelmenson & Noah Kernis

The transplant process requires a donor, a recipient, and a third party to transport the organ. The person transporting the organ gains another organ for the duration of the trip. When a person places their hand on the sides of the piece, they touch a pulse sensor. In response, the heart starts to “beat” at the person’s BPM. A screen also displays the pulse over time. By holding the box, the person becomes the organ transport. The pulse reflects the persons, revealing it is now part of them.

8W0B9986.jpg

Elastic Heart looks at the relationship between humans, their organs, and what it means to transplant an organ. We hope that, by viewing their own heartbeat while holding the heart’s box, a sense of humanity is added to the transplant process.

Find my code on Github:

Physical Computing / Week Thirteen / Final Project by Pippa Kelmenson

Step 1: Inspiration from SFO!

Step 2: Bone Conduction Tech - First Try

Step 3: Experimenting with an 8-bit Synthesizer Circuit

Step 4: Attempting Serial Communication from Arduino - Max/MSP

Step 5: Creating the Violin Chin Rest

Step 6: Applying Sounds to Breadboard

Step 7: Fastening Circuit Boards to Structure


Step 8: Adhering Leather

Step 9: Final Circuit

Final BOM, Resources, Project Plan:

Physical Computing / Week Twelve by Pippa Kelmenson

Assignment:

You’ll present your final prototype in class and give some of your classmates the chance to interact with it. How long you have to present will depend on how many projects there are. We’ll divide the available class time such that each project gets equal time. In addition to the class critique, take written notes and hand them to your classmates after they present as well.

  • Make sure your online documentation of the project is done as well

  • Prepare and rehearse how you want to present your project

Step 1: 3D Molding & Lasercutting Cardboard Prototype

Step 2: 3D Molding & Lasercutting Plywood

Step 3: Adding Thermoplastic

Step 3: Giving up on Thermoplastic

Physical Computing / Week Eleven by Pippa Kelmenson

Assignment: User-testable version of your project

  • Your final project should have enough functionality to user test it at this point. Bring in a working of your project that you can use for user testing next week. Use paper or cardboard mockups where necessary, and show initial versions of any media as needed. Your goal is to use next class to answer any remaining user interaction questions in order to finish building your project.

  • Come up with a prototype to test, a plan for testing, and a list of questions you want to answer from the test.

Step 1: Laser Cutting Cardboard & Acrylic

Step 2: 3D Printing, Papier-Mâché, & Molding Air-Dry Clay

Step 3: Working with Chicken Wire

Step 4: Adding Plaster

Physical Computing / Week Ten by Pippa Kelmenson

ASSIGNMENT: PROTOTYPE FOR PLAYTESTING

Come up with an initial design for your final project’s user interface and develop a plan to user test your design with users with an interactive sketch. In a playtest, you explain to groups of potential testers briefly what your project looks and sounds like. Then you ask them to act as participants and to show and tell you what they would do with the project.  It’s a way of testing your assumptions about the clarity of the interface. Next week, we’ll run these playtests on each other.

Prepare a list of questions you want to answer with this test: are the controls immediately understandable to someone who’s never used the thing before? Can she successfully operate the interface?  Can she learn the physical actions  necessary and internalize them, so that she can concentrate on what the device does, rather than her own actions?

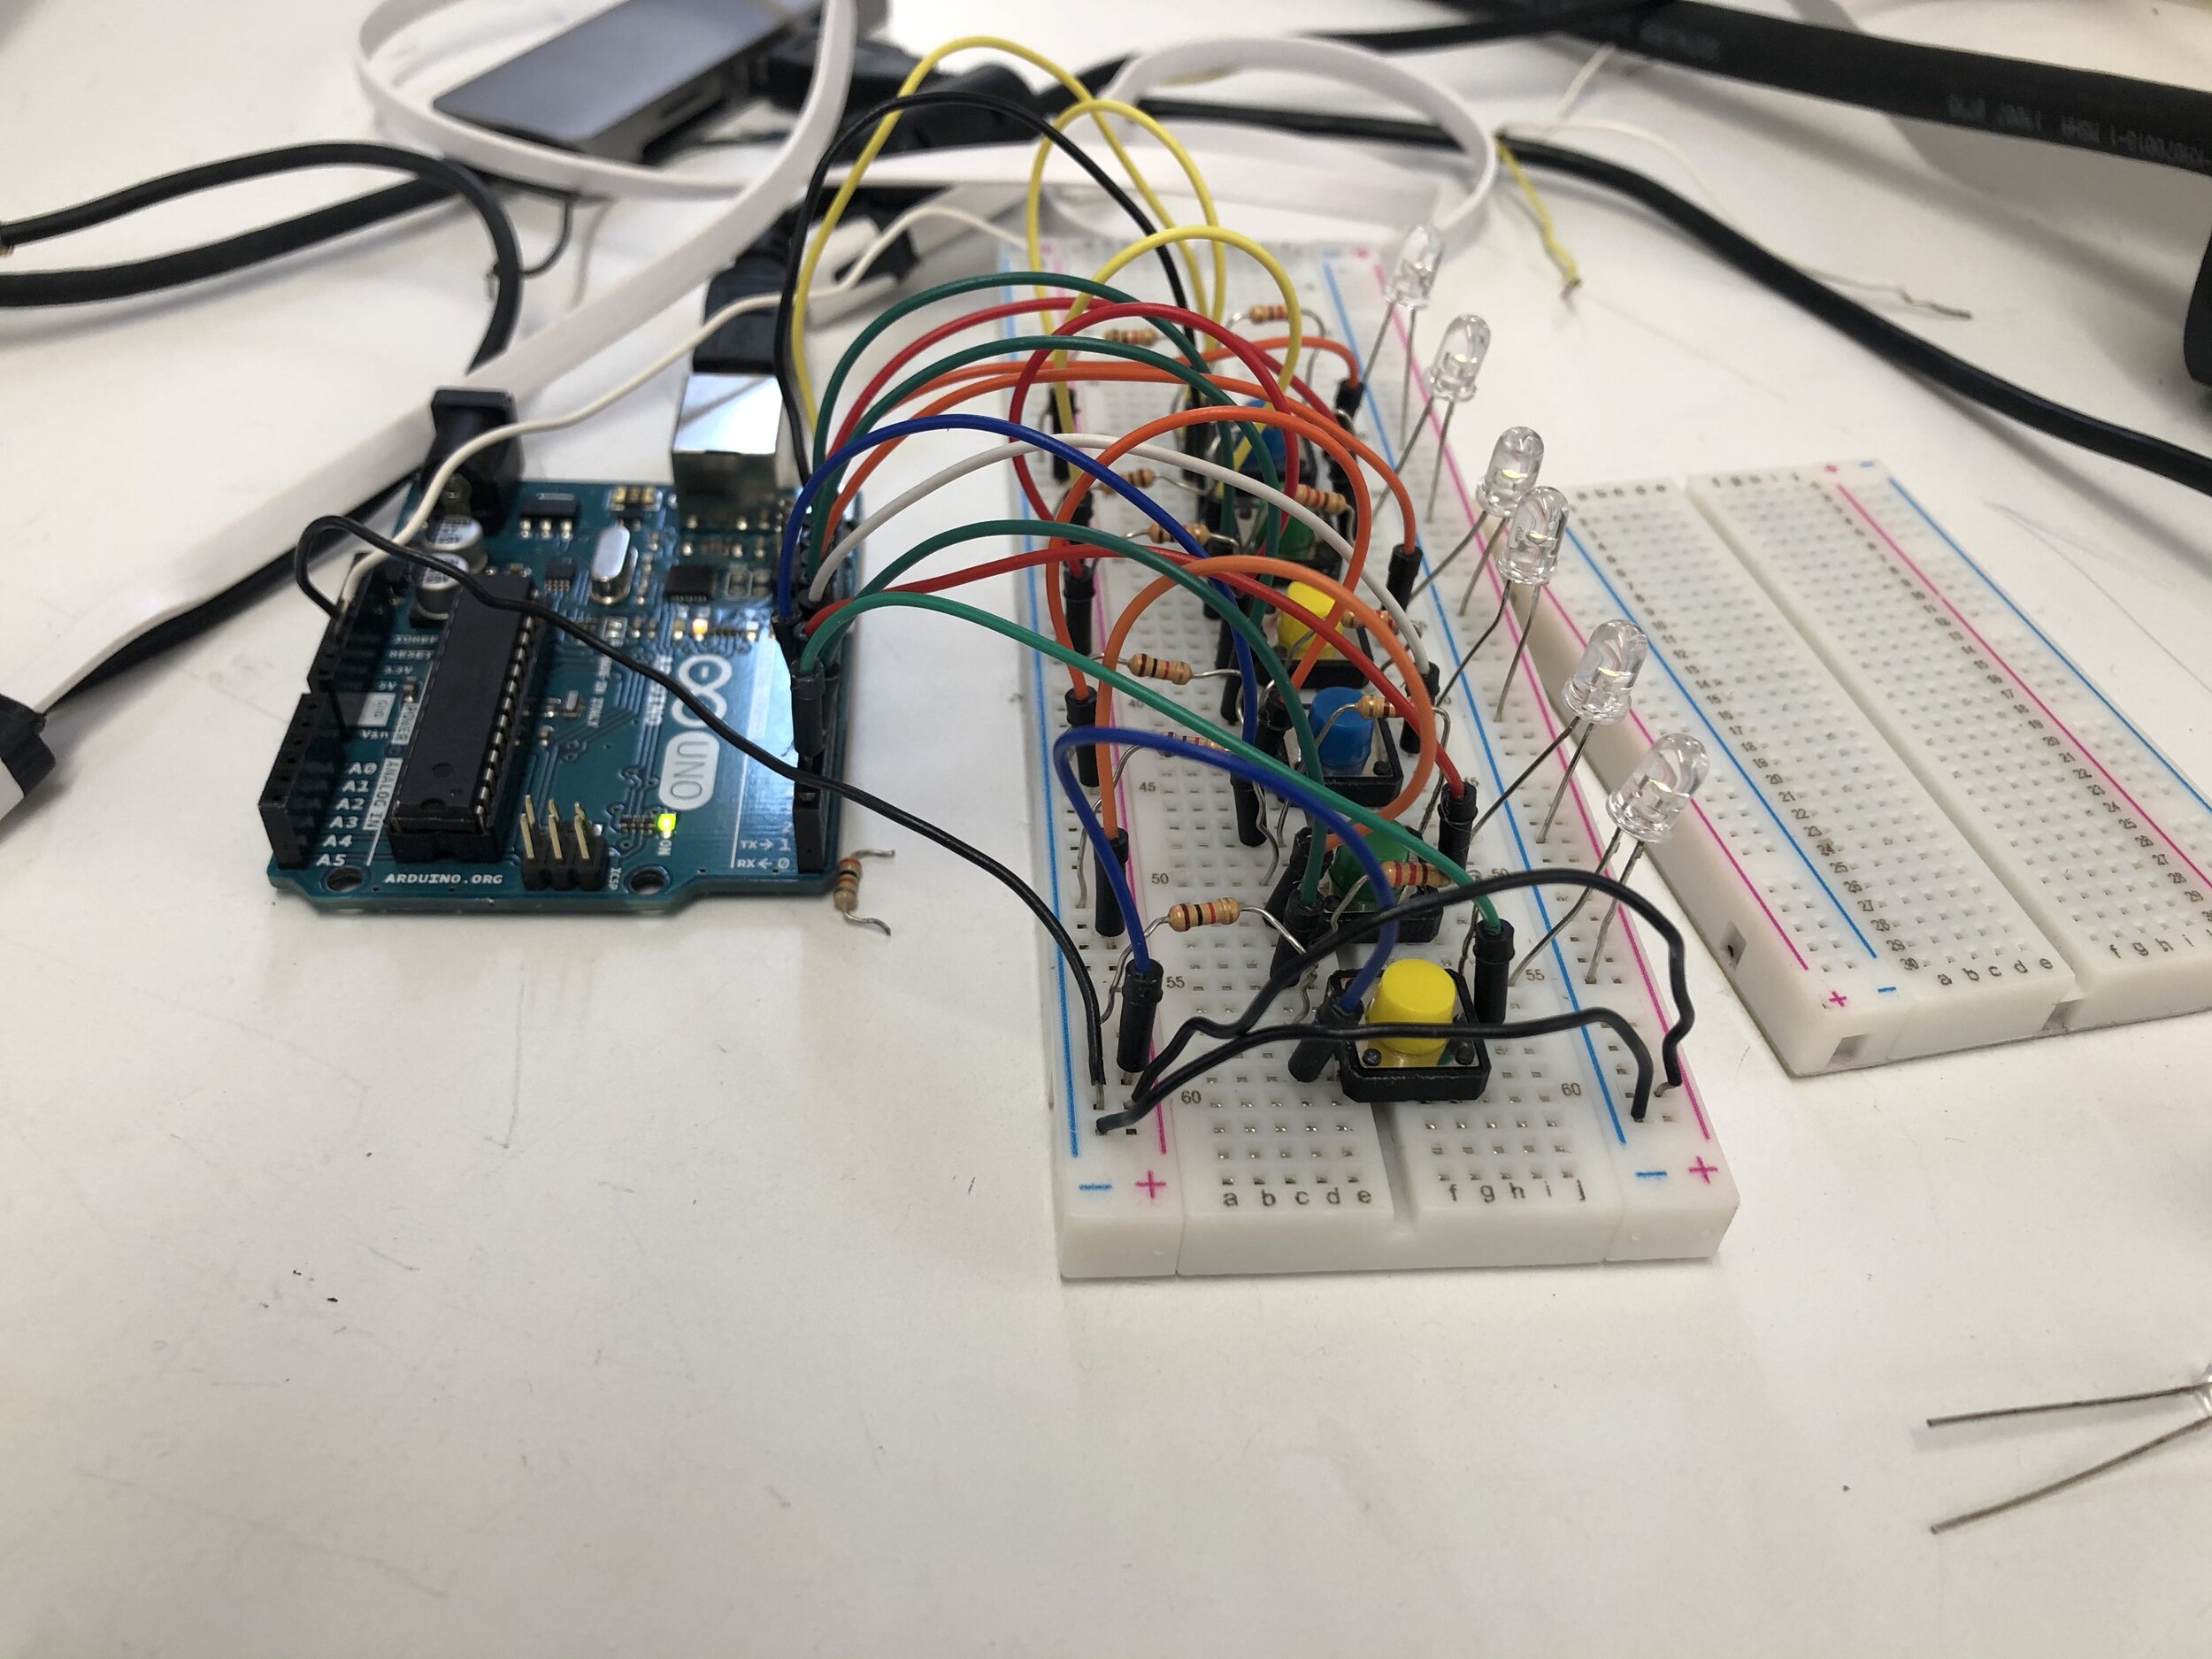
Make a drawing of what the major functional elements are and how they communicate with each other. Figure out the elements and space needed, come up with a plan, a system diagram, and an initial bill of materials. Put your project plan, timeline, system diagram and brief description and testing plan. Make a set of instructions to introduce your test, and  list of questions to ask your testers after they’ve interacted with your device or system.  Your mock-up should include as little as you need so that you can have other people perform your system. When they do, they will have questions, or will tell you what doesn’t make sense. Take note of those things and make changes to your plan accordingly.
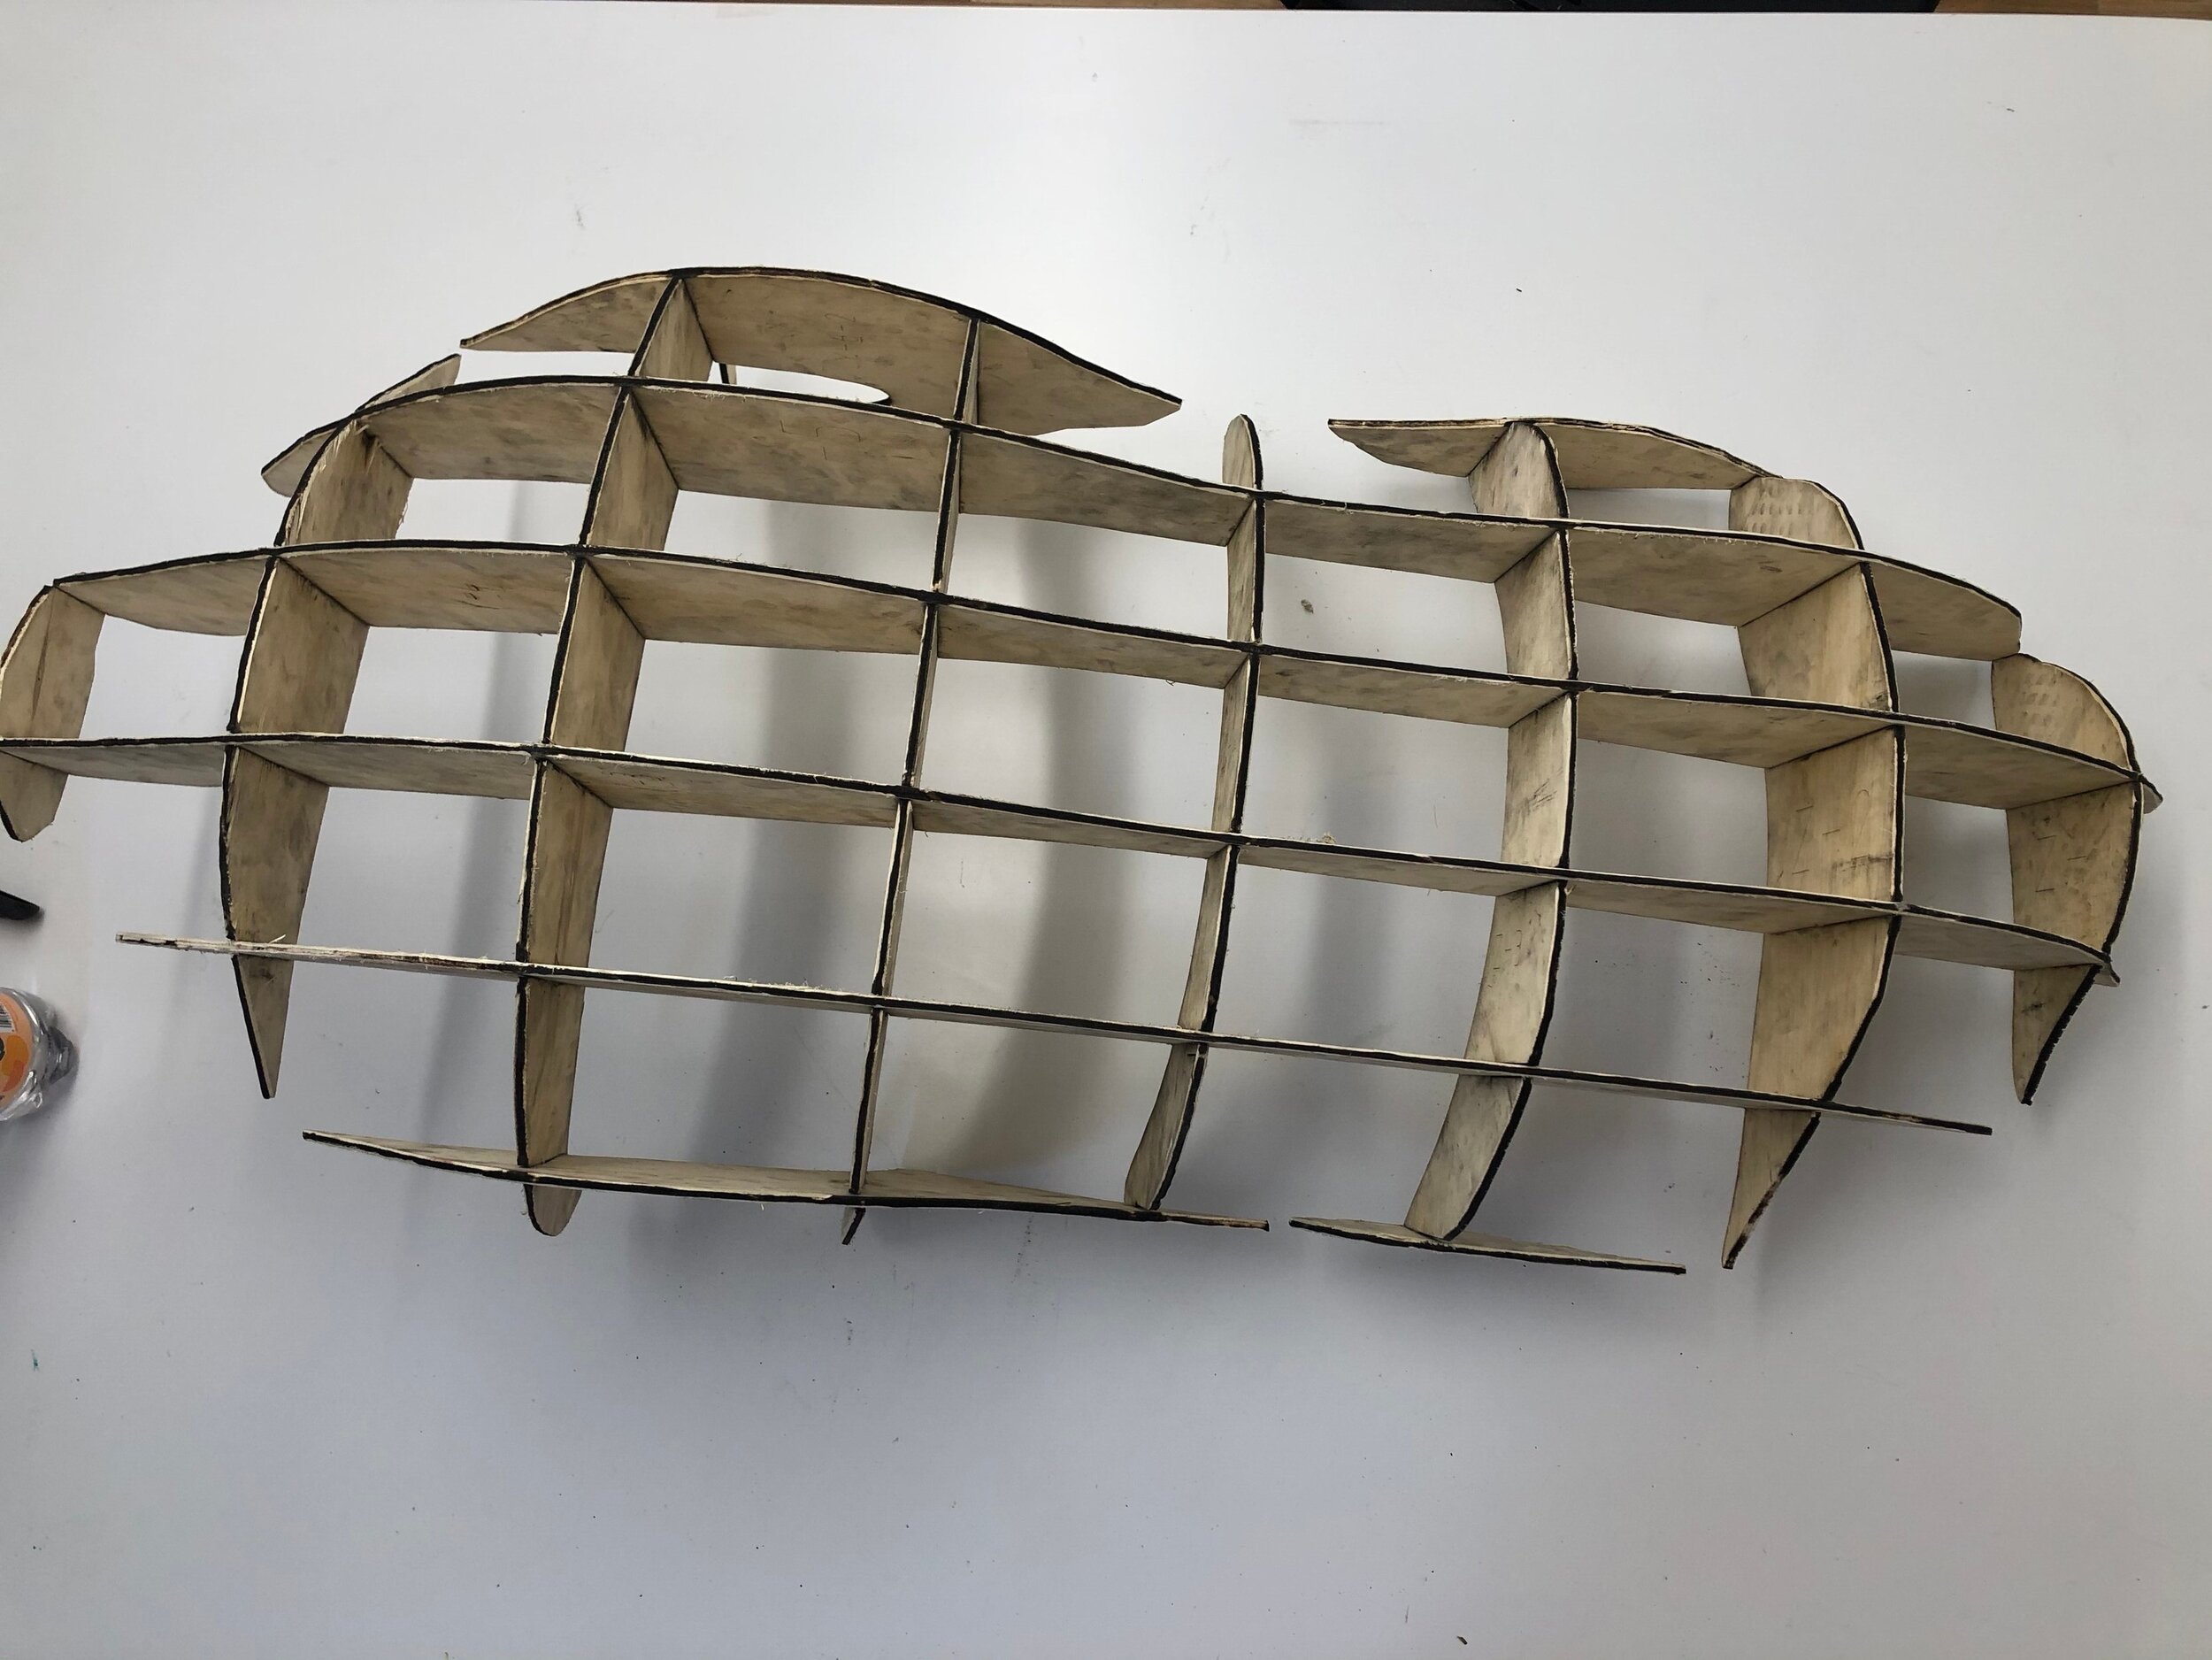
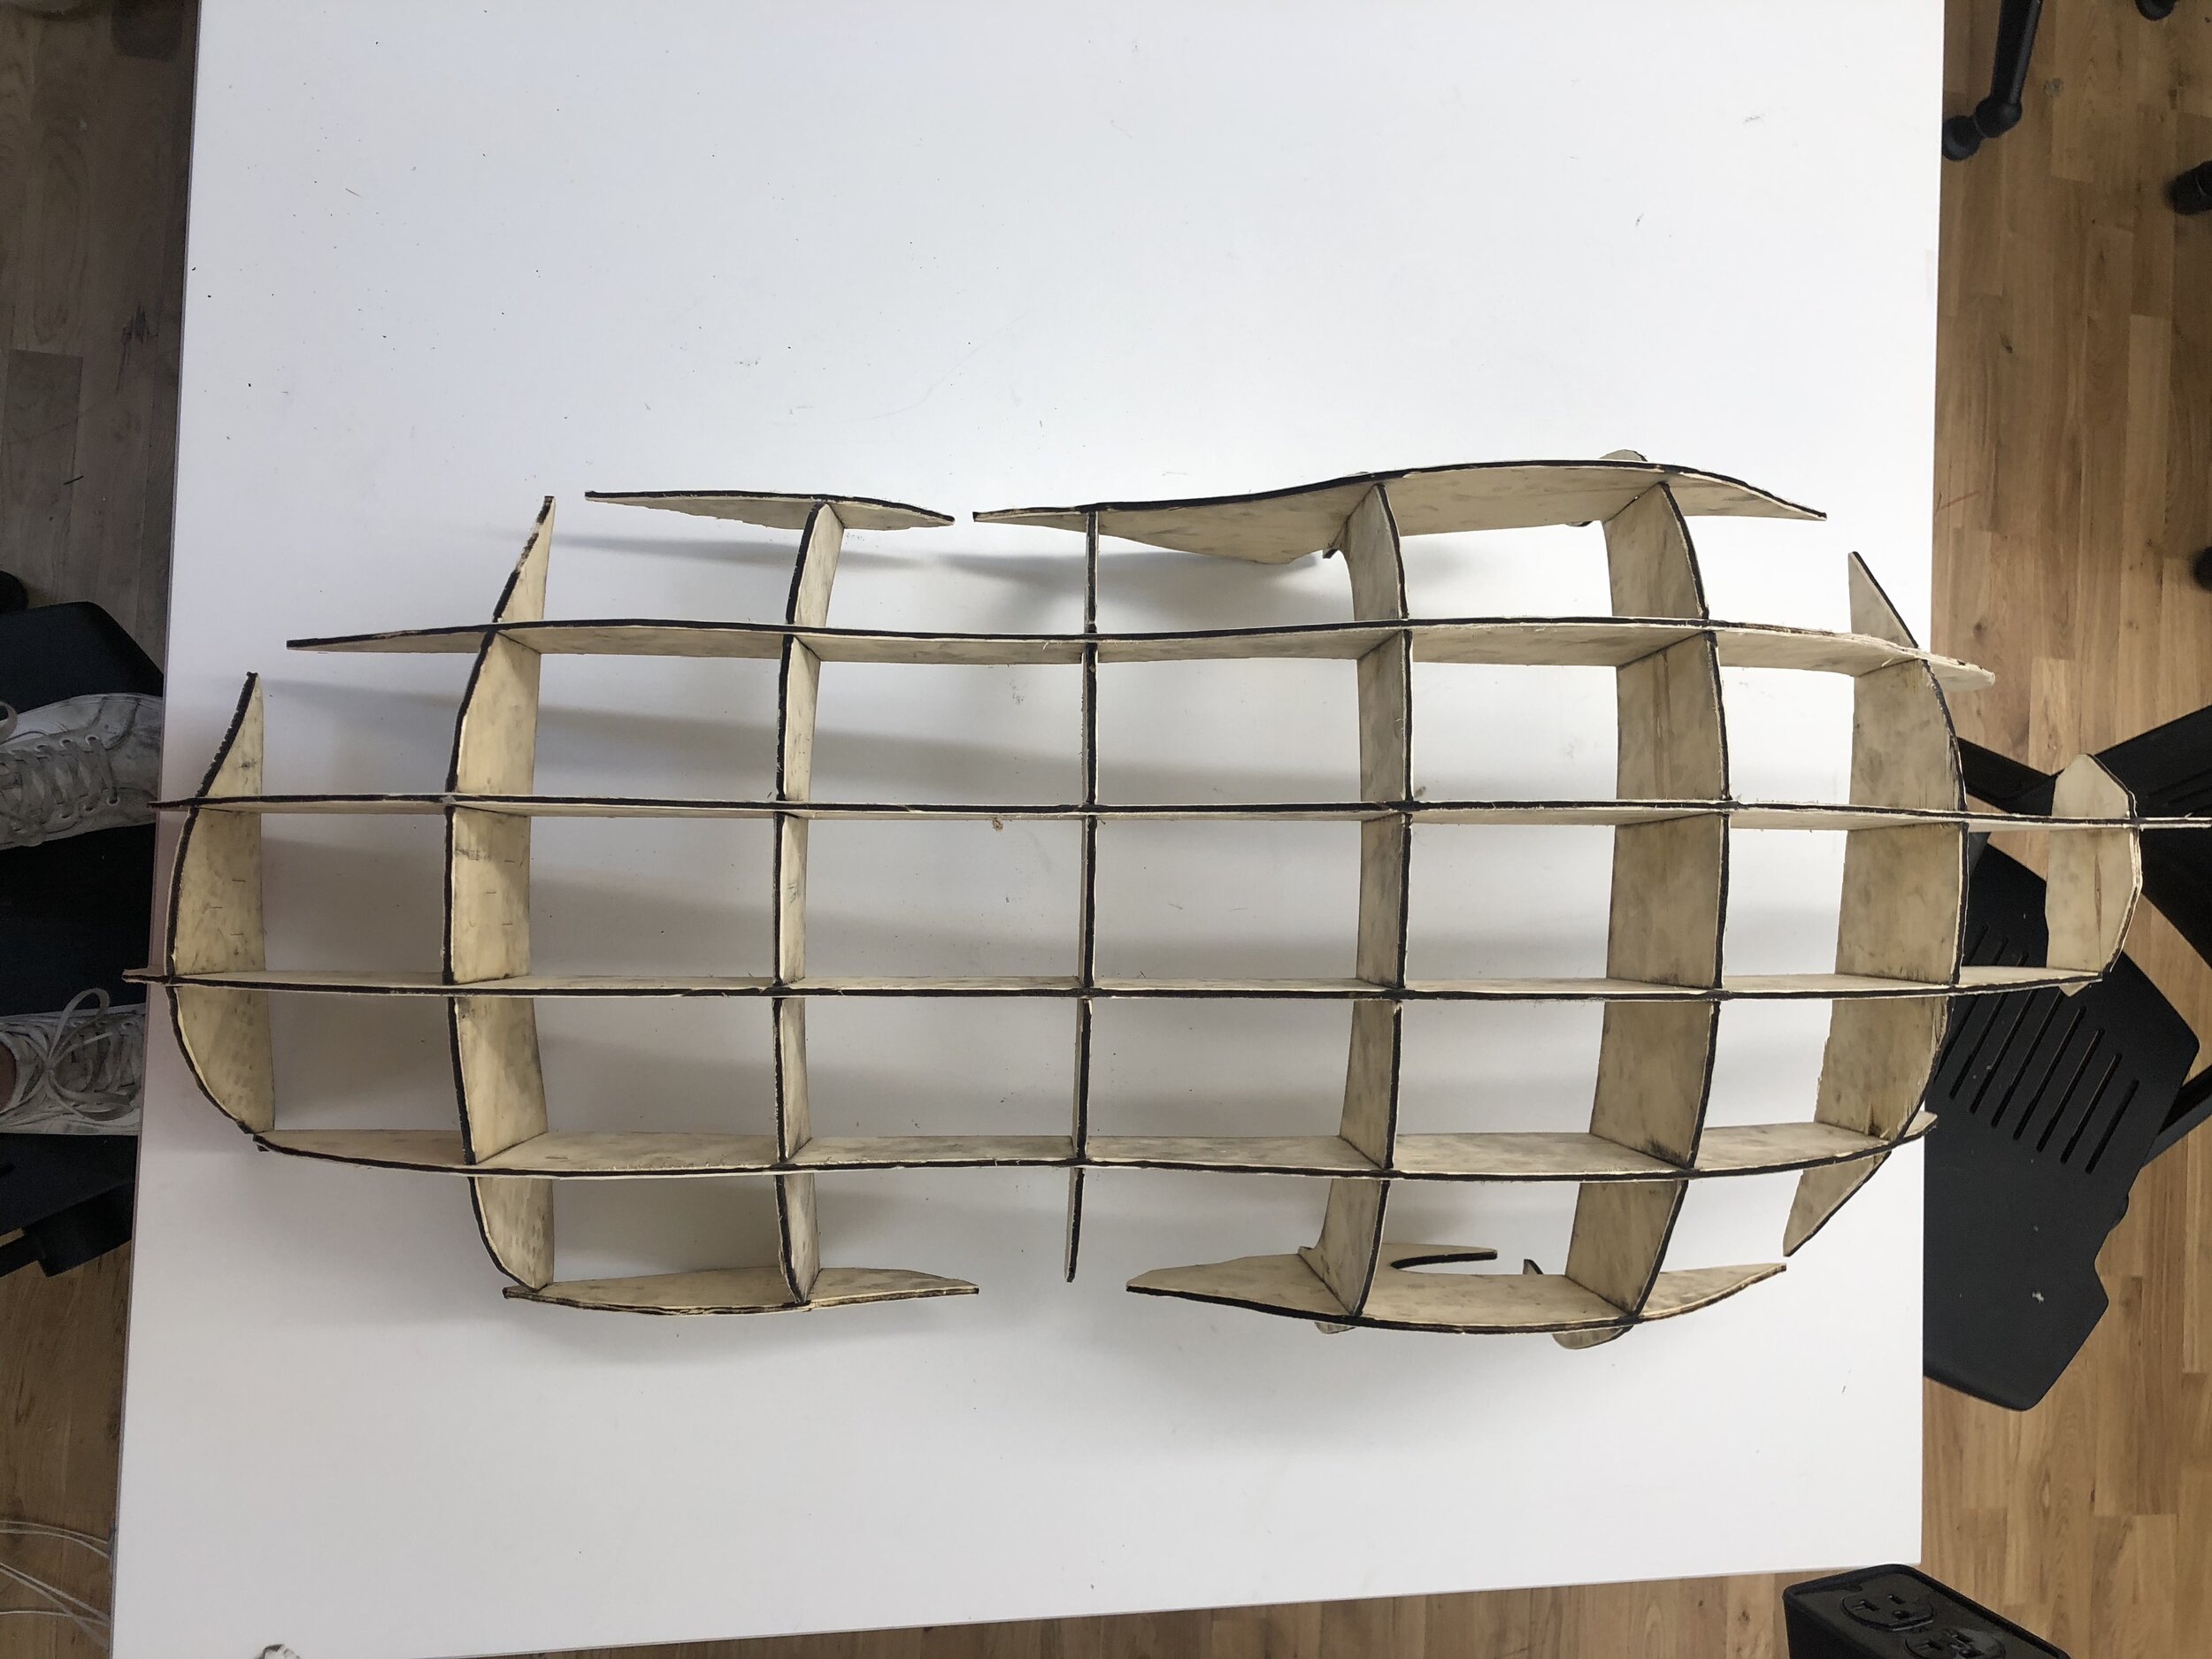
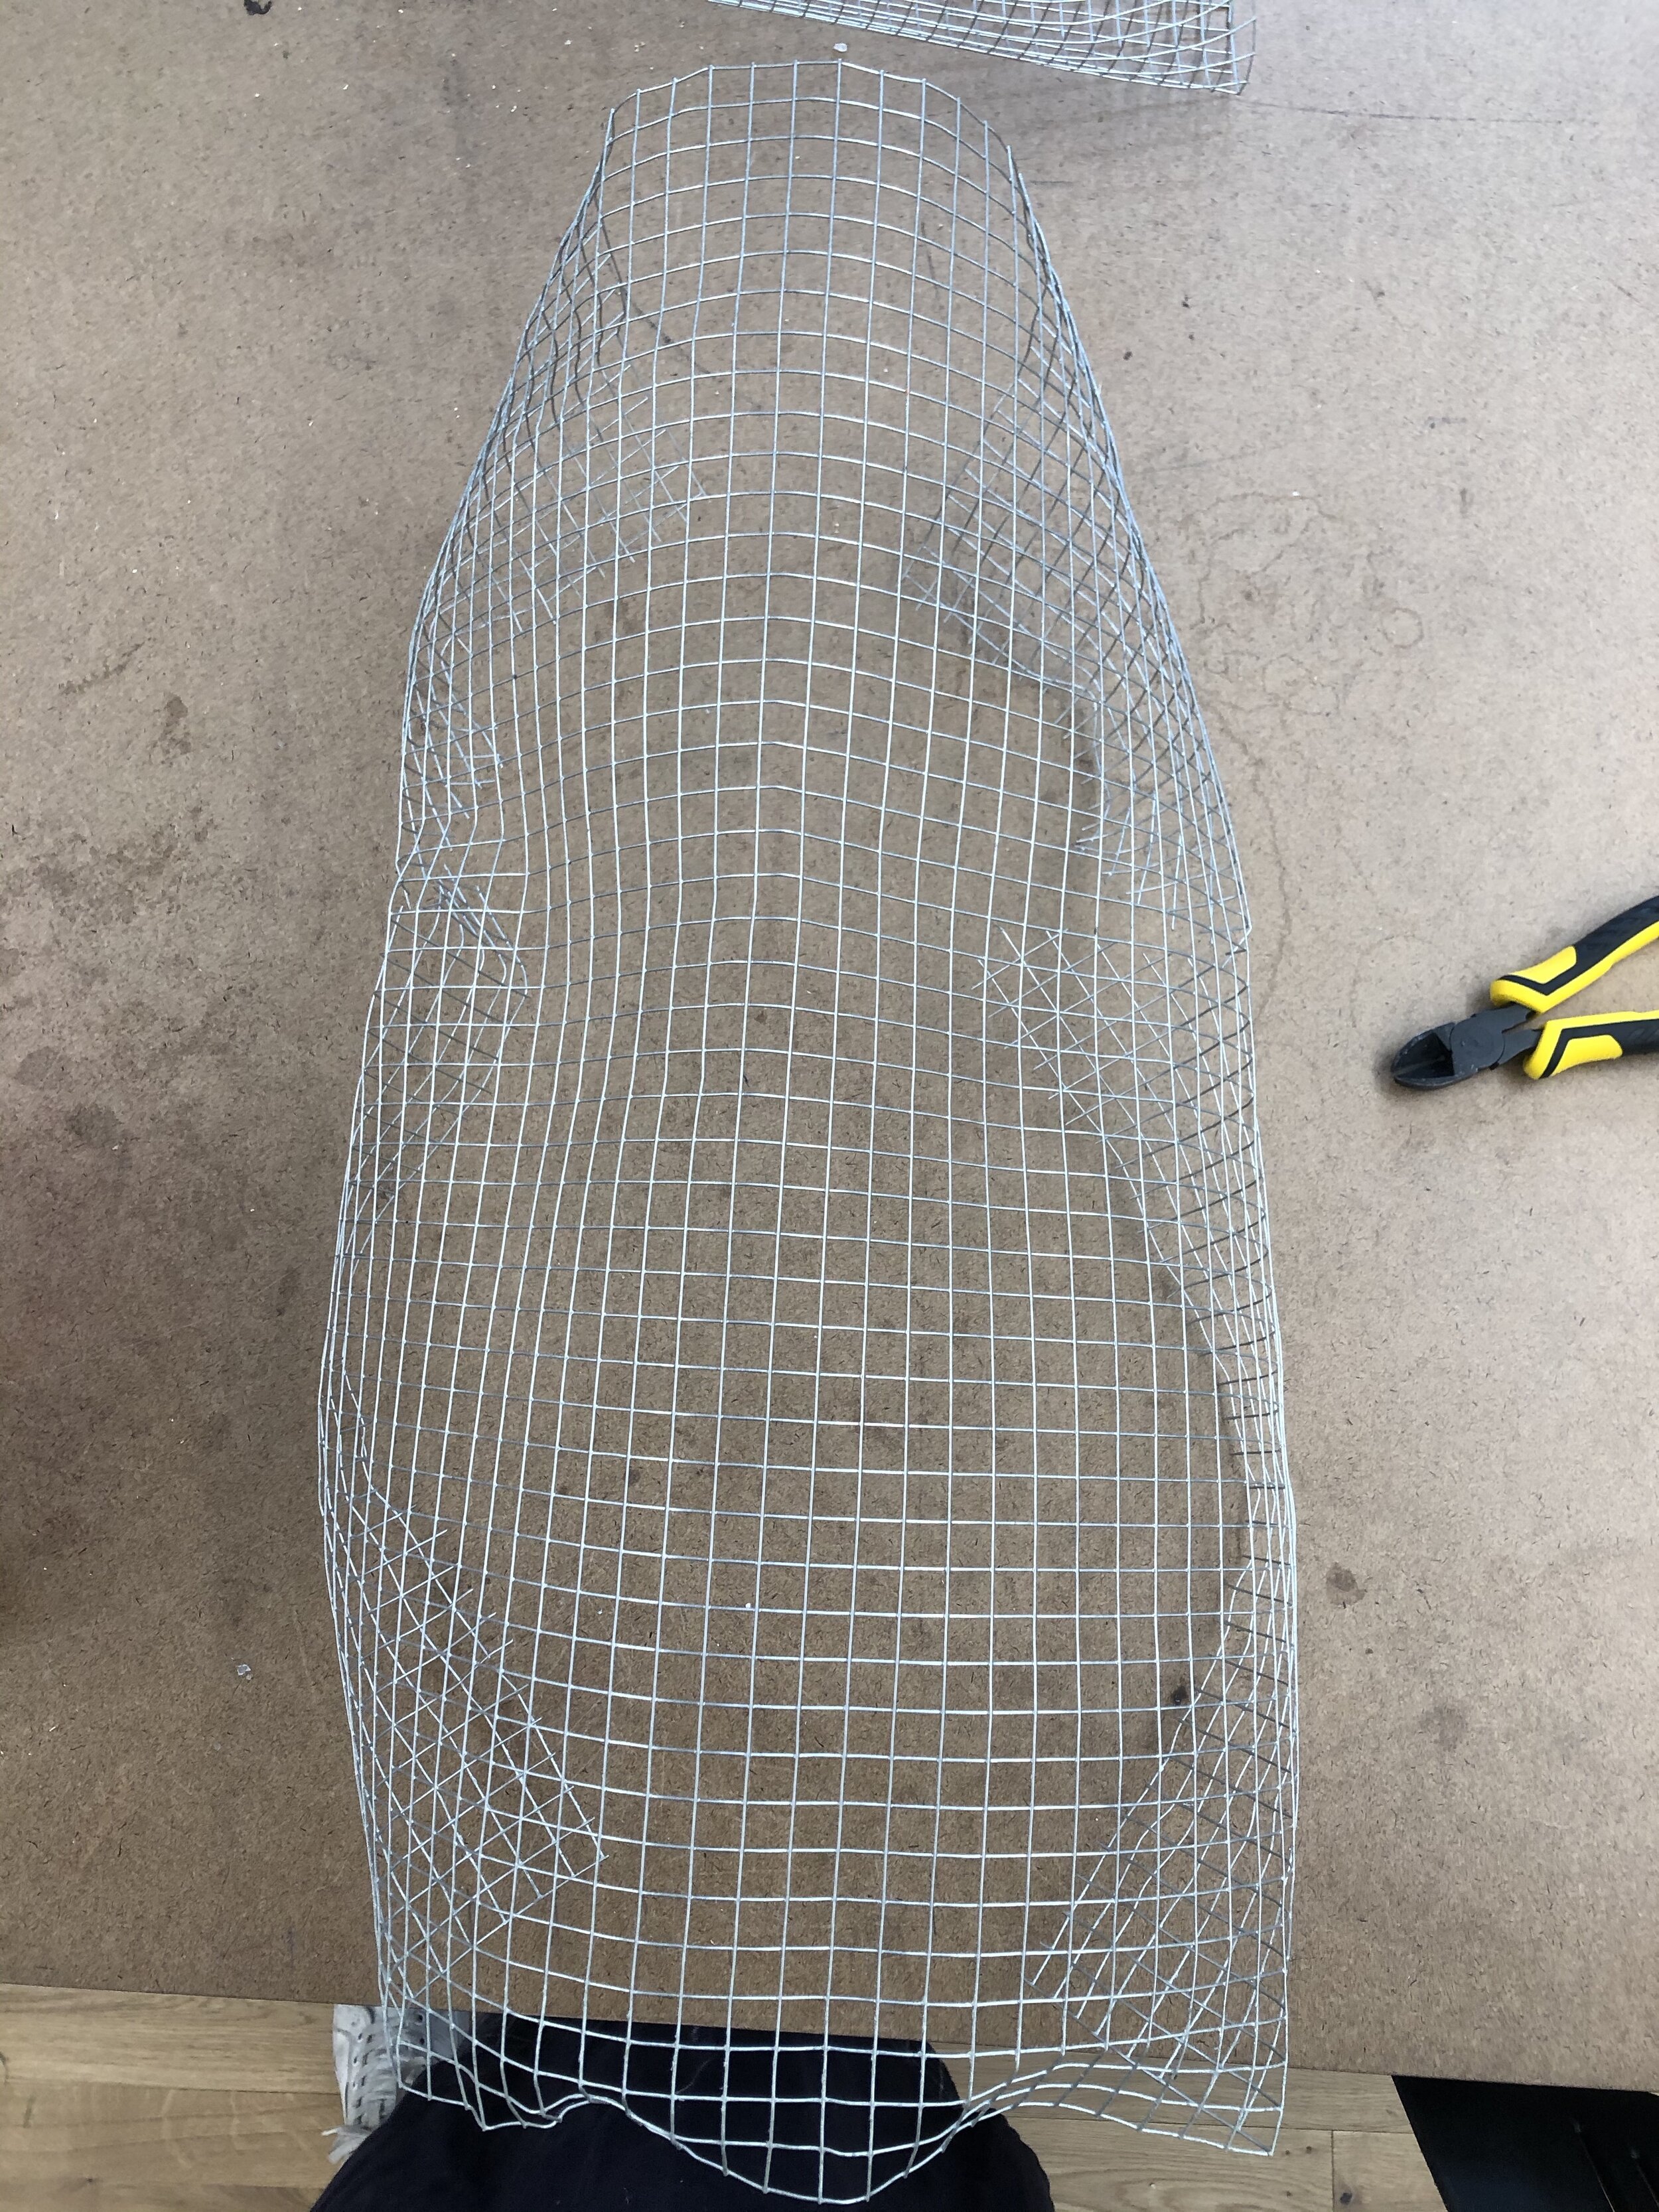
Step 1: Sketch


Step 2: Script for Testing

  1. Person (bone contact)

  2. Voltage to power Arduino synth

  3. Bone conduction tech

  4. Person to bone conduction tech

  5. Voltage internal for tech

  6. Sound from instrument to bones

  7. Loop

Step 3: Project Timeline, Bill of Materials, System Diagram